
DIY guide to outdoor kitchen
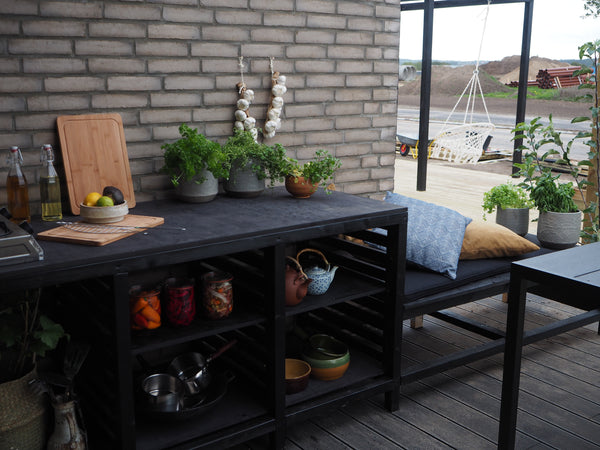
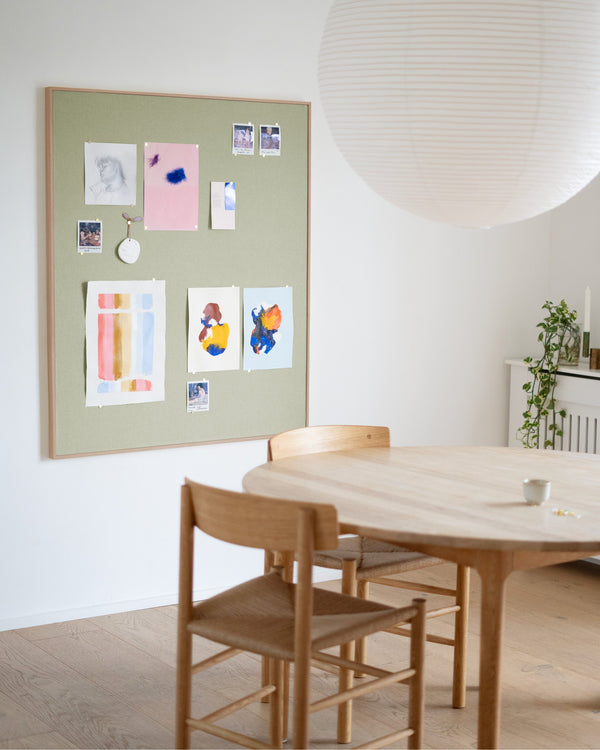
(Our outdoor kitchen which is used for cooking and socializing with our guests)
How to make your own outdoor kitchen
An outdoor kitchen is fantastic to have on the good summer evenings on the terrace or in the garden. There is something very special about preparing food outdoors, and then you also avoid having to run in and out of the patio door.
The guide below is for the actual kitchen skeleton with worktop. You can possibly expand it or insert a gas burner, sink and running water as needed.
Materials to make an outdoor kitchen

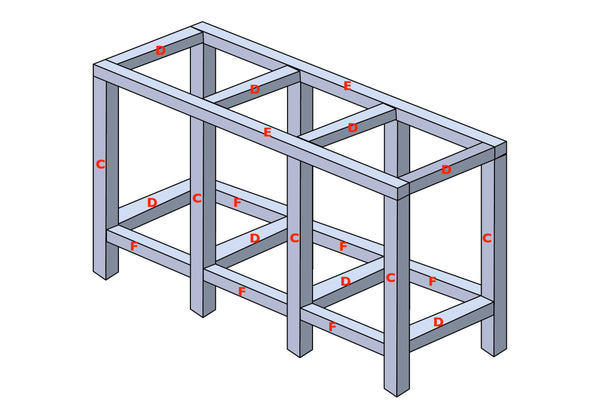
(The creation of the outdoor kitchen. Here you can see the 'skeleton', which is indicated by letters against the background of the guide below)
Guide to the kitchen section
Front frame moldings:
– 36 strips of 610x21x43 mm (A)
– 8 strips of 670x21x21 mm (B)
– Spacer block of 30 mm
45×45 mm slats:
– 8 legs of 84 cm (C)
– 8 cross braces of 61 cm (D)
– 2 top pieces of 180 cm (E)
– 6 cross braces of 54 cm (F)
Black MDF boards 19 mm:
– Table top of 180×70 cm (G)
– Base plate of 180×60 cm (H)
– Shelf of 121.5×60 cm (I)
– (Possibly one-section shelves of 63×60 cm as required)
Screws and brackets:
– 20 angle brackets 40x60x60 mm
– A whole lot of screws between 30 and 70 mm
Guide to the bench section
45×45 mm slats:
– 2 top pieces of 180 cm (E)
– 4 cross braces of 61 cm (D)
– 4 cross braces of 85.5 cm (J)
– 4 legs of 39 cm (K)
Black MDF plate 19 mm:
– Plate of 180×70 cm (L)
Screws and brackets:
– 14 angle brackets of 40x60x60 mm
– A lot of 40 mm and 50 mm screws
Miscellaneous
– Wood glue
– Black protective wood paint:
– Clear ship varnish or furniture varnish
- Possibly. gas burner and gas cylinder
Step-by-step - this is how the outdoor kitchen is built
Step 1. Start by cutting all the pieces of wood and MDF boards and sort them into piles so they are easy to grab.
Step 5. See drawing below:
Now put the 4 sections together with the 6 F cross braces. Reinforce all joints with angle brackets and 40 mm screws.

Step 6. See drawing below:
Screw the 2 top pieces (E) onto the skeleton with 70 mm screws from above and then fit the 4 upper D-cross braces and reinforce with angle brackets.
Now the skeleton is finished and it is hopefully fairly stable and level. Then it's time to coat the skeleton
Step 7. see drawing below:
Pre-drill 3 places in the stop strips (B) and attach them to the legs (C) with wood glue and 50 mm screws. Place them exactly 21 mm from the edge so that the lining (A = 21 mm thick) will be flush with the legs (C) when they are attached.

Step 8. See drawing below:
Now cover the sides with the A pieces by pre-drilling and mounting with 30 mm screws into the stop strip (B). Use a 30 mm spacer block to ensure the same distance between all skirting boards. 
Now the kitchen section is covered and is only missing the worktop and shelves, which have become dry in the meantime.
Step 9. First put the table top on and make sure it fits exactly on the frame. Screw it on from below with 60 mm screws.
Step 10. Place the shelves where you want them by pushing them into one of the grooves from the side of the kitchen.
Step 11. Now you can saw a hole in the table top and submerge the gas burner, if you have one. Also remember to drill a hole for the gas line, so you can have a gas bottle standing just below.
Now that the kitchen is finished, it is smart to place it where it should be and then build the bench on it as an extension.
Step 12. Fit a cross brace (D) to two legs (K), using the same procedure as in steps 3 and 4. Repeat once so you have two sections.
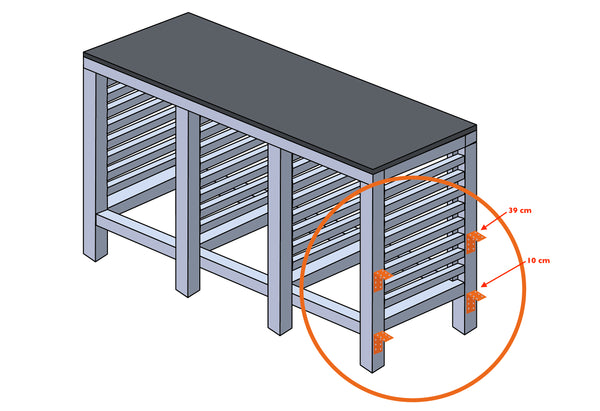
Step 13. See drawing below:
Mount 2 angle brackets 10 cm up on the two table legs (C) facing the bench. Do the same 39 cm up.
Step 14. Fit the 2 sections from step 13 with the kitchen cabinet by attaching the 4 J-pieces.
Step 15. Screw the long top pieces (E) on from above with a 70 mm screw.
Step 16. Fit the two upper cross braces (D)
Step 17. Now screw the plate (L) onto the skeleton from below with 60 mm screws.
The outdoor kitchen and the bench are now finished, and you can paint the entire pier white with black wood paint. If you are really smart, you can also choose to paint all the wood before you start.
Enjoy!