
May 03, 2024
DIY guide to entryway shelving
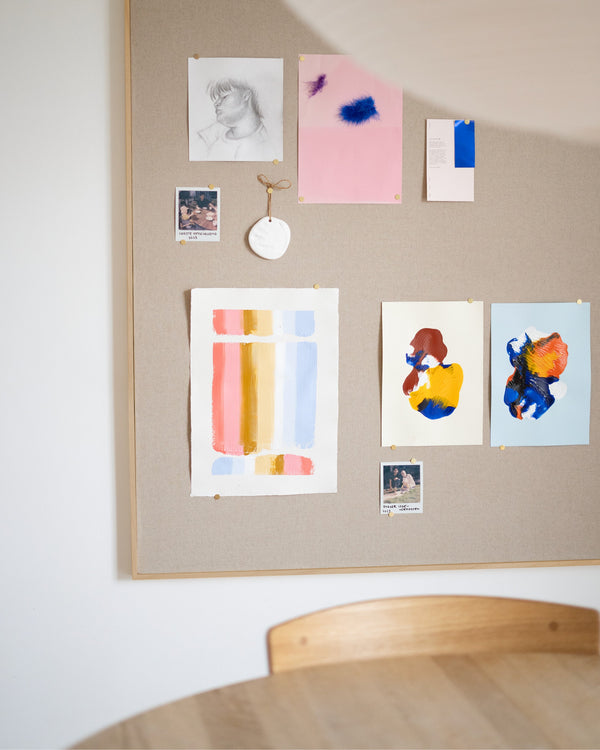
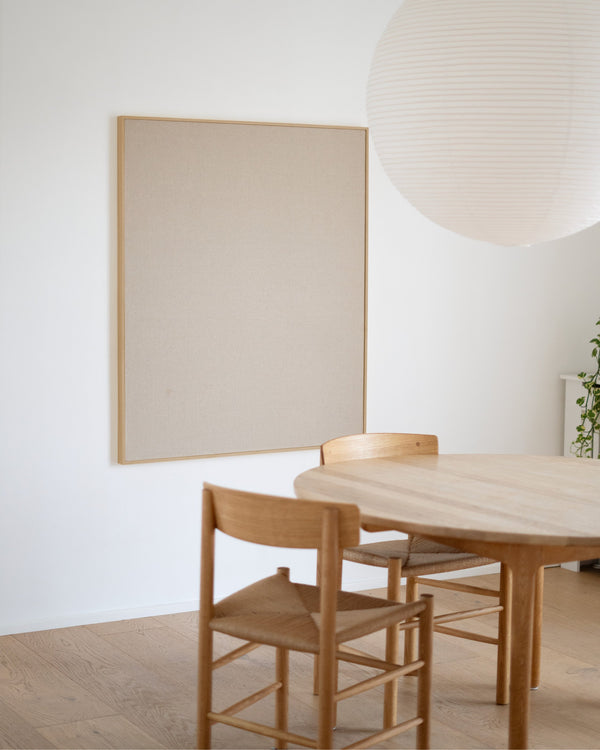
This guide is written based on our entrance bookcase, but you can adapt the measurements to exactly where you are going to build a bookcase. We have e.g. also built a bookcase based on the same principle in both the bathroom and the kitchen. See pictures at the bottom of the page.
Materials and tools to build the shelf
- 19 mm thick MDF board (1220×2440 mm)
(If necessary, get a sawmill to saw your boards in 29 cm wide pieces on the long joint (2440 mm). This measurement can vary according to the depth you want in your bookcase. - 45×90 mm batten
- Sand trowel
- Wood glue
- 30 mm screws with flat head
- 60 mm screws with flat head
- 4 frame screws
- 8 angles
- Primer
- Wall paint (We mixed our own color that Silvan has recreated. It is called NCS S 4010-Y50R )
- Screw machine
- Submersible/Star dweller
- Hand trowel
- Sandpaper
- Paint brush and roller
How to build your own bookshelf

(Sketch of the bookcase for our entrance)
- Start by measuring and making a plan. Make a sketch so you can determine the number of shelves, the locations and the overall look you want. See the pictures above - I got Ida to make it graphically :)
- Now saw all the gables and shelves to suitable lengths. Our ceiling height was 237 cm so with MDF boards of 244 cm it gave a small remainder. KEEP THEM and the leftovers from the shelves. You can saw the rest into 1.9 cm wide pieces, which are the same size as the thickness of the plate. Then you get nice, square carrier strips!
- Screw the two end gables into the walls with 60 mm screws. Remember to pre-drill and use countersinks so that all the screw heads are countersunk.
- Use 8 angles to set up the two central gables so that there is an equal distance between all gables. Make sure to put them where you can't see them under/above shelves. (See the red ring). You can also choose to use assembly glue instead of angles.

- Now pre-drill two holes and use the countersink to make a recess in all your carrier strips.
- Measure where the support strips should sit and fasten them with wood glue and 2 x 30mm screws (See the arrows in the picture above)
- Place the shelf on the support strips and screw them in from top to bottom in the support strip and from the opposite side of the gable. Also remember wood glue.
- If you make a "sit-shelf", reinforce it with 45×90 mm battens/slats screwed into the wall with frame screws and through the gable with 60 mm screws.
- When all the screws are in, the holes must be filled with sand putty. Normally, it must be puttyed, dried and sanded twice, as the putty shrinks when it dries. (If necessary, also give the assembly at the support strips and the shelves a turn, so that you get a completely uniform look.
- Sand all corners and edges before painting the entire pier white with primer and then the wall paint.


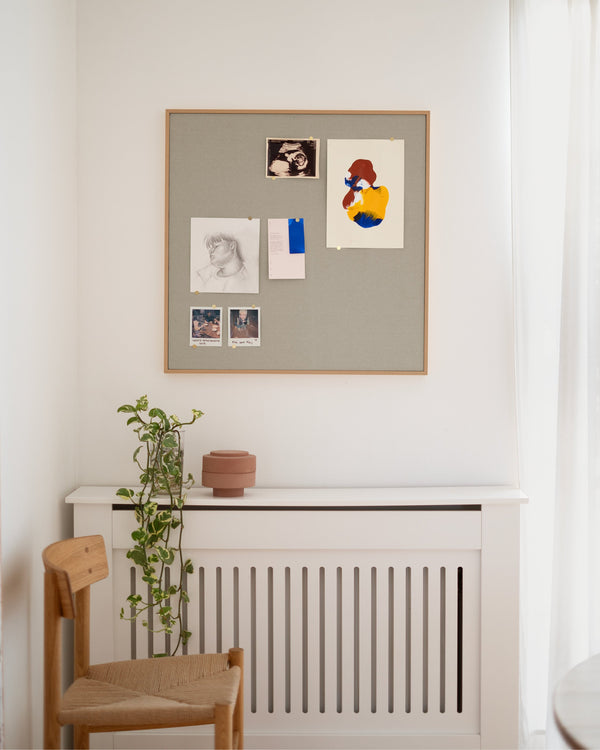
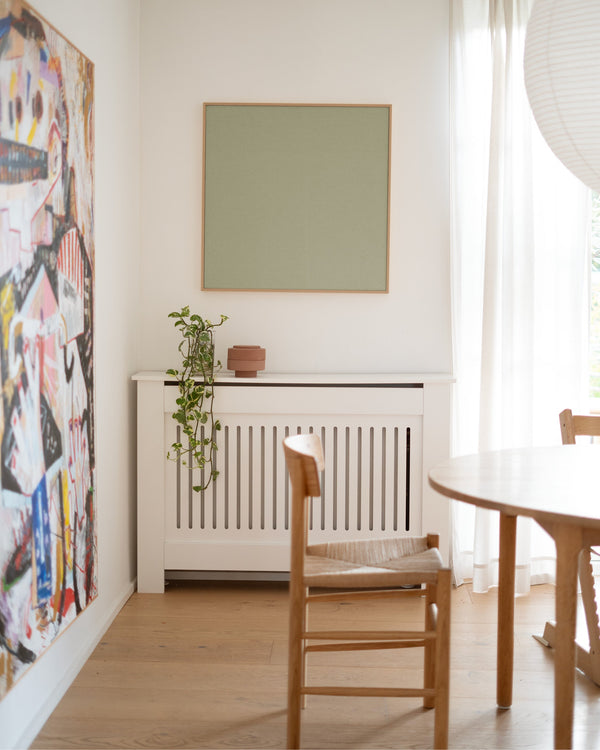
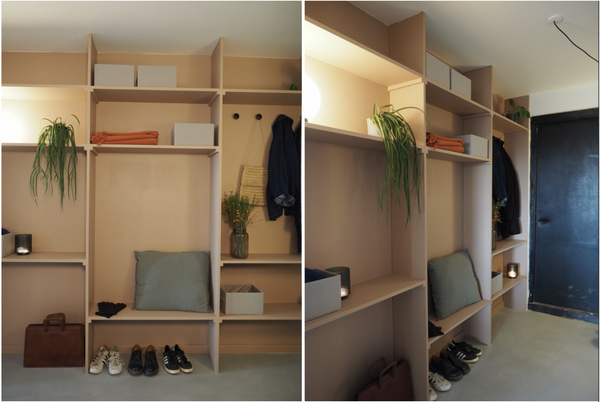
(Self-built bookcase in our entrance hall)

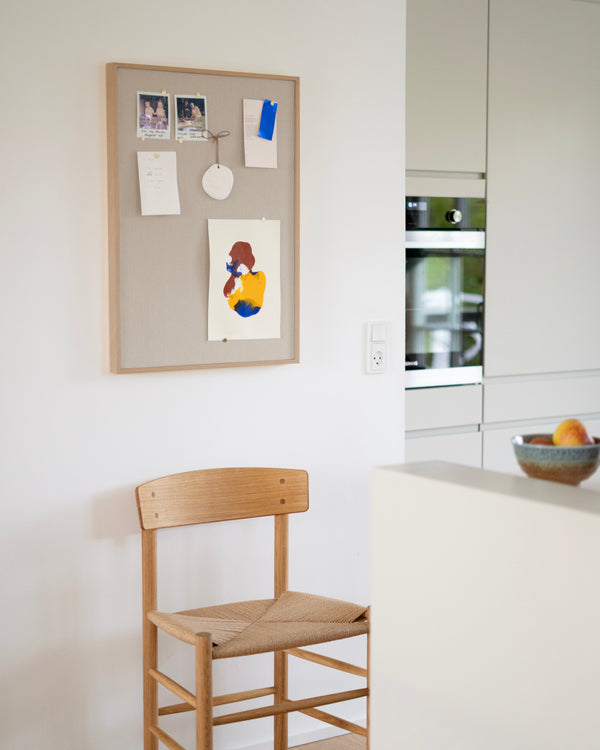
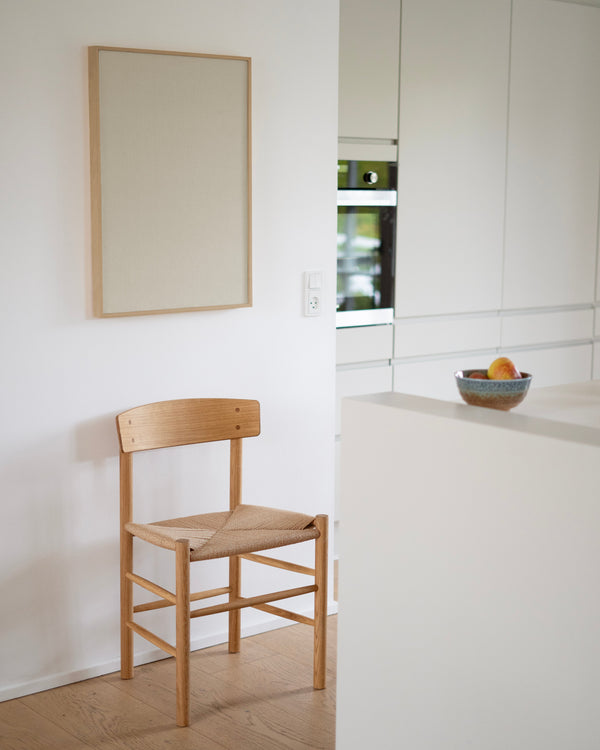
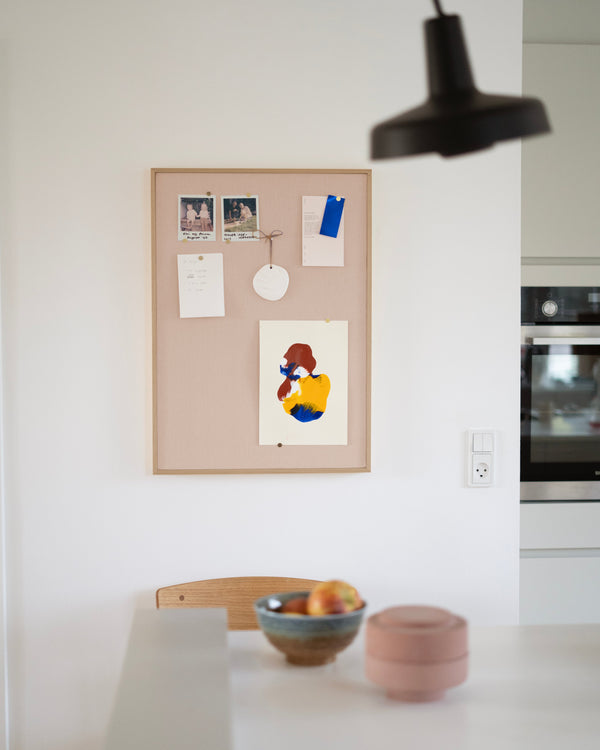
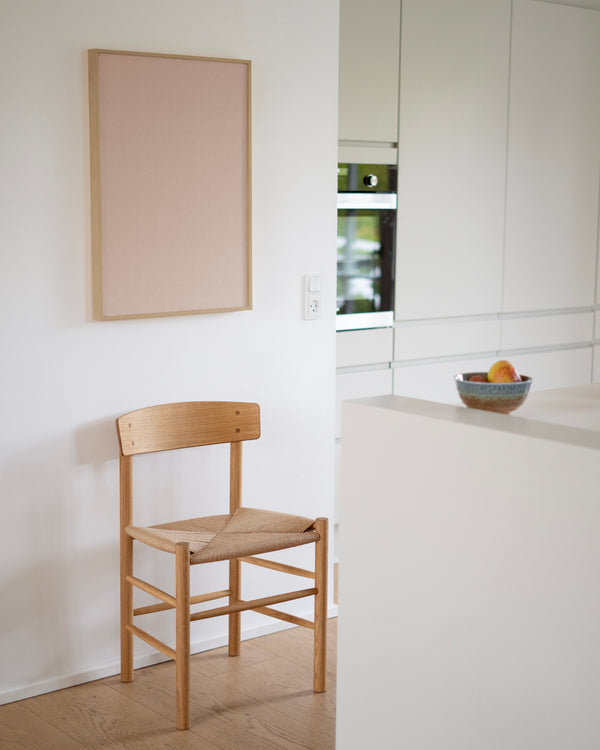
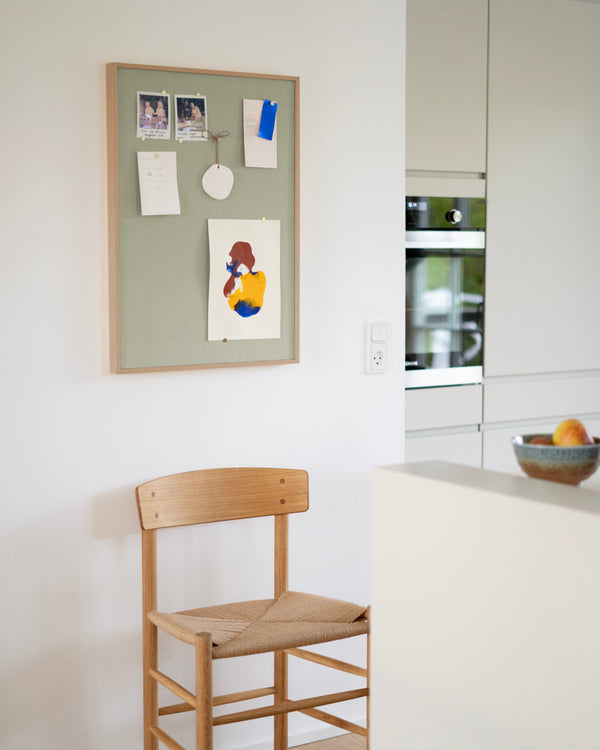
(Self-built bookcase in our kitchen)
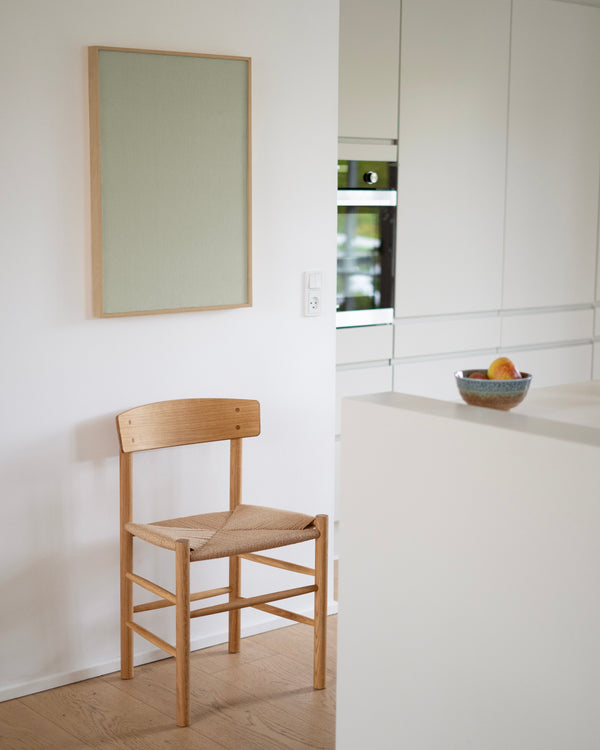
 (Self-built bookcase in our kitchen)
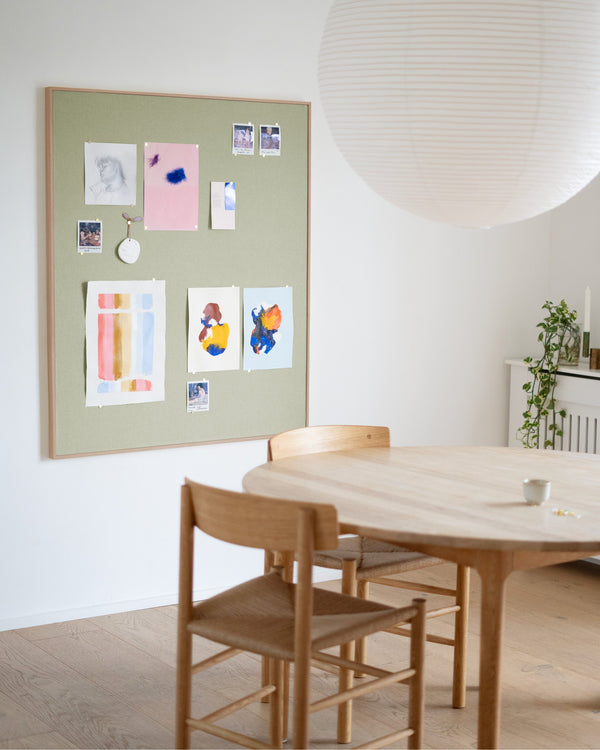