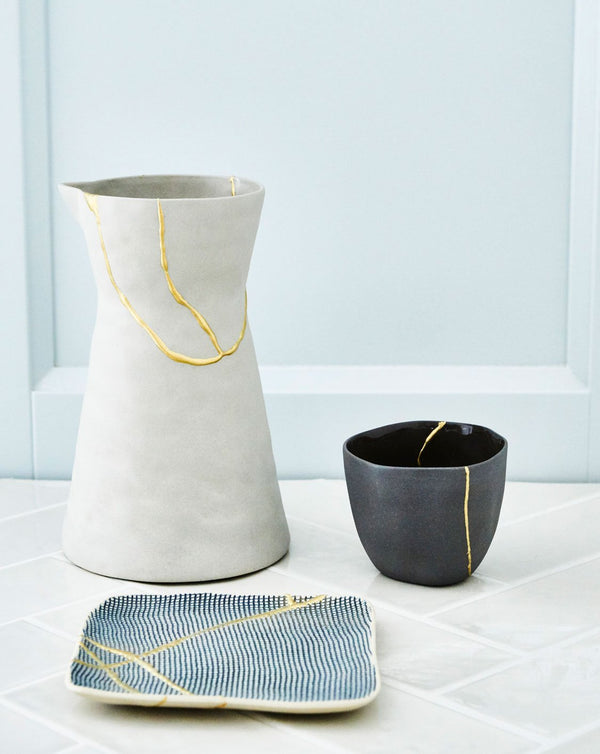

Step by step guide to kintsugi
It's that easy.
The box contains:
- Manual
- Epoxy glue
- Epoxy wax
- Gold or silver powder
- Brush
- Gloves
- A small mixing stick
Step by step:
Prepare equipment:
Unpack the contents of the box. If necessary, provide a surface if you are working on a table that must not get glue stains or become dirty.
Make your glue mixture:
Squeeze a little glue onto the small paper plate or into the lid. Mix in the gold or silver powder with a mixing stick.
Collect your ceramics or glass:
Dab glue onto the cut with the mixing stick. If it is broken in two, only cover one surface with glue. Squeeze the cut(s) together and hold it together for a few minutes until it is set. Leave it to dry somewhere.
Brushing with gold or silver:
When the glue has dried but is still sticky, brush the glued cracks with the gold or silver powder.
Curing:
Let the ceramic cure for a minimum of 24 hours. Then carefully clean the piece.
Care:
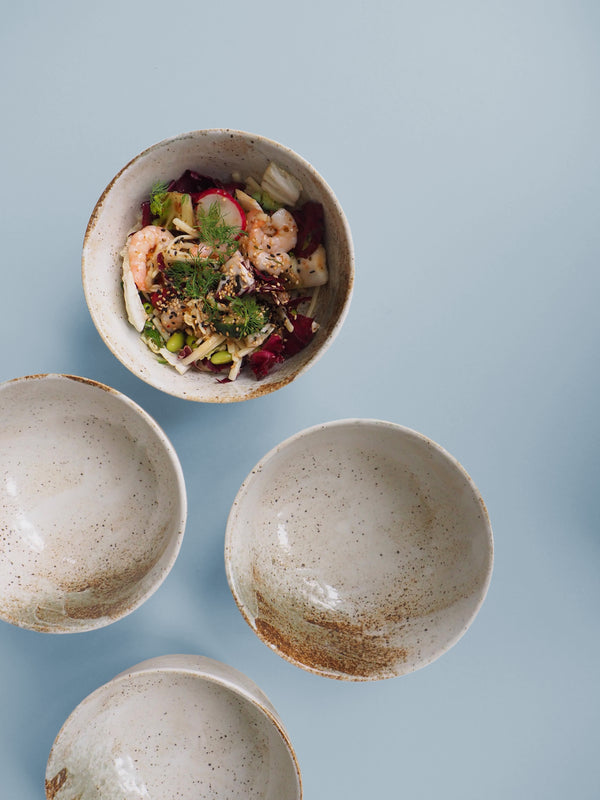
Your new piece of pottery or glass is now ready to use again. Remember that kintsugi is best washed by hand and should not be exposed to high temperatures or put in the microwave. In addition, it is not approved for contact with food, so we recommend that you use your new piece of pottery as a decorative item or for storage.